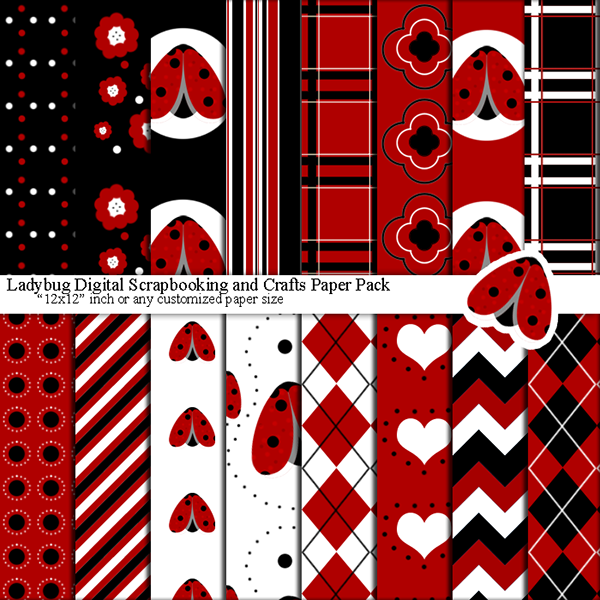
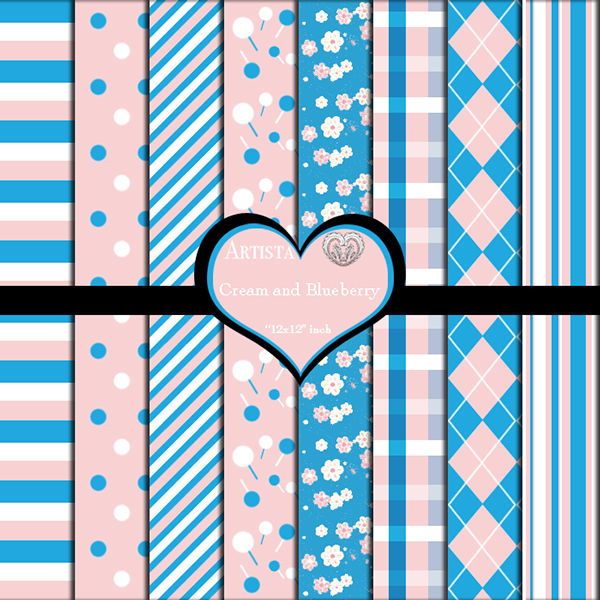
Freebie Digital Scrapbooking Paper Pack

2:47 AM Unknown 0 Comments

Freebie Digital Scrapbooking Paper Pack
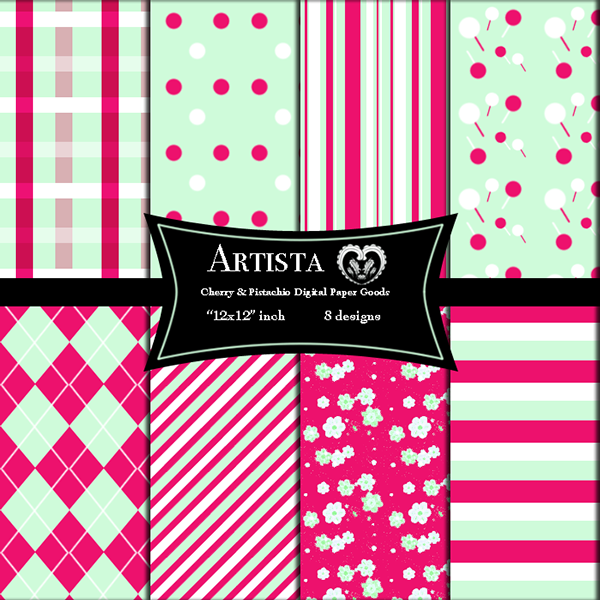
Polka dot digital patterns


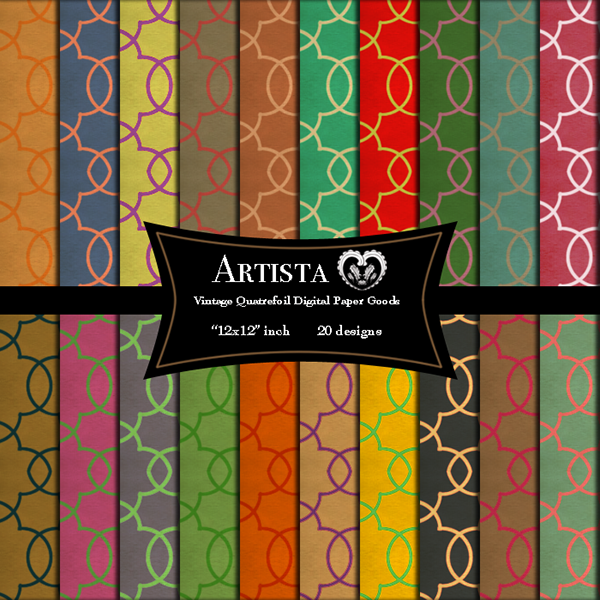
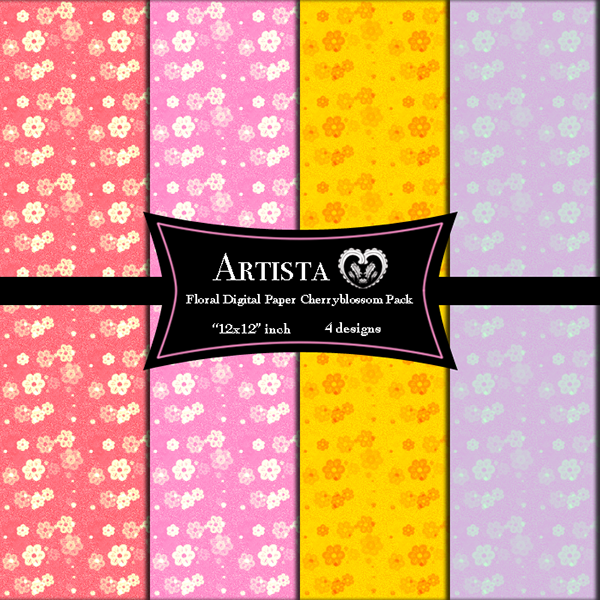
A paper pack of 8 preppy polka dot patterned digital scrapbooking papers


You can download the files here:

0 comments:

Photography: Capturing Kuwait Sky

5:35 AM Unknown 0 Comments

My love for photography started at a young age. When traveling I always held my digital camera at hand and captured different photos of the places my family and I visited. If I'm not mistaken I was in middle school when I first started with photography. Since then, everywhere I went to (especially abroad) I was responsible for capturing moments and memories. But before having my own digital camera, I had my father's so I didn't have much liberty taking it around with anywhere I went to. Not because my father didn't allow me to, but that's just who I am.

As I got used to photographing I started to realize slowly how to take good pictures. I'm not professional in that field yet but I'm still learning. I have to divide my day in a way that I have enough time to practice photography. I don't always have enough time to do so which is slowing my progress even more.

In this post, I decided to share with you some pictures from Kuwait sky. These photos were taken at different time and day. I was fascinated by the color of the sky and sometimes when it's cloudy I can't help but stare at the clouds.


Etsy: ArtistaQ8
Instagram: ArtistaQ8
Website: Artista


0 comments:

Cute DIY Boxes

7:22 AM Unknown 0 Comments


This is yet another quick tutorial on the applications of digital scrapbooking and crafts paper.
In the past entry I explained with steps and images on how to create a cupcake or muffin wrapper to decorate your cupcakes and muffins with. This time I brought to you a simple diy box creating tutorial.


First of all, choose the pattern(s) that you want to work with.


Second, search for a box template (google is the best source) and save it.
Third, open up any image editing program like Photoshop to edit the template.
Fourth, open the template you saved before and apply the pattern on it.
Fifth, print it on a card-stock paper.
Sixth, cut the image with scissors then fold the box.


And there you have your box.

Etsy: ArtistaQ8
Instagram: ArtistaQ8
Website: Artista

0 comments:

1:18 AM Unknown 0 Comments


 .وأخيرا تسنت لي الفرصه اني اترجم الطريقه اللي تساعدكم في عمل ورق تزيين الكب كيب أو المافن
.الطريقه جداً سهله و راح اشرح لكم بالصوره خطوه بخطوه

للتطبيق راح تحتاجون

مقص و صمغ
المقص المزخرف مو ضروري بس استعماله راح يعطي نتيجه افضل

  ١. اختاروا الباترن او التصميم اللي يعجبكم (تقدرون تصممون لكم اي تصميم بسيط أو تدورون تصاميم جاهزه للطباعه). بالنسبه لي انا اخترت واحد من التصاميم اللي صممتها بنفسي موجود بالصوره.

استخدمت هذي الباترنز من تصميمي بس غيرت بالالوان
٢. بعد ما تستقرون على تصميم بحثوا عن تصميم الكب كيك الجاهز و طبعوا عليه الباترن


٣. بعد ما تطبعون قصوا بحدود الباترن نفسه


٤. بعد ما تخلصون من قص التصميم لصقوا طرفين التصميم مع بعض بالصمغ


٥. ضغطوا على المكان اللي صمغتوه لمده قصيره


.هذا كان درسي البسيط عن استخدام الباترن لعمل ورق تزيين الكب كيب

0 comments:

1:17 AM Unknown 0 Comments

New Scrapbook Paper Goods 
on our Etsy Store


Since the last time I made a new post on this blog, I created more than 10 different and colorful scrapbooking paper sets. The good thing about creating a new digital paper pack is that it doesn't take too much of my time to create. When I first started creating these scrapbooking paper goods, they took more than an hour to be done. However, as long as I have an idea what I'm about to create it doesn't take too long to be done. Everyday I look forward to creating my next set. That's why I'm thinking about adopting new approaches and learn new techniques in order for my designs to take another level.

Without further due, here are some of the newest patterns uploaded in my etsy store:

 Blue Owls Digital Scrapbook and Craft Papers   Instant Download Blue Yellow Gray Photoshop Patterned Scrapbook premade pages

 Blue Digital Paper Craft Goods Photoshop Textures and Patterns   Digital Pink and White Patterned Scrapbooking and Crafts Paper Goods - Set of 14 Colored Sheets


Before I end this post I just want to mention that I'm doing a discount on my paper goods with a minimum purchase of $3. You can save up to 5% when purchasing any paper pack.

0 comments:

1:18 AM Unknown 0 Comments

Apple Crumble Recipe
 © www.exclusivelyfood.com.au


This recipe wasn't created by me, I found it online in www.exclusivelyfood.com.au.

This warming fruit dessert is quick and easy to make. We don't like the crumble topping to go soggy, so the apple layer is moist but not watery. If you prefer, you can use brown sugar in the topping instead of white sugar. We like to serve our crumble with vanilla ice cream, whipped cream and/or custard.

Serves 6.

We use a 20ml tablespoon and 250ml measuring cup for all of our recipes.

4 medium apples (we used Granny Smith apples)
40ml (2 tablespoons) water
38g (2 tablespoons) sugar

Topping
75g (1/2 cup) plain flour
60g (3 tablespoons + 1 teaspoon) caster sugar
60g (scant 1/2 cup) finely chopped pecans or almonds
60g butter, chopped

Peel and core apples. Chop apples into eighths then cut each eighth in half. You should have about 450g of peeled, chopped apple.

Place apple, water and sugar in a large saucepan; cover and bring to the boil. Reduce heat so that the mixture is rapidly simmering. Simmer for about 10-12 minutes, or until apples are just soft.

Spoon cooked apple into a shallow ovenproof dish with a capacity of at least 1 litre (4 cups). We use a pie plate that measures 22.5cm across the top and 20cm across the bottom. © exclusivelyfood.com.au

Preheat oven to 190 degrees Celsius (170 degrees Celsius fan-forced).

Mix flour, caster sugar and nuts together in a large bowl. Using your fingertips, rub the butter into the flour mixture until well combined.

Sprinkle topping over apple.

Bake for about 25 minutes, until topping is lightly browned. Serve hot or warm. 
© www.exclusivelyfood.com.au

0 comments:

Create Your Own Digital Pattern

1:31 PM Unknown 0 Comments


I brought to you another article but this time I'll show you an example of how to create your own pattern. For this tutorial, I'm using a very simply and easy pattern for demonstration but it's applicable on other shapes and patterns as well. The only program you'll need is Photoshop CS3+.


1. Create a new project by clicking on File -> New.
Set the size of your file to 100px x 100x
(You can use any size but for this tutorial I'm using the above dimensions)

2. Zoom in your file to about 400%. Enough for you to work on the small area.

The more you zoom the better.


3. Choose a good color for your background.

I chose the color #9be8fe.


4. Click on the Paint Bucket Tool to paint the image.

You can see the tool at the left side.


The tool is highlighted with gray.

After painting the image.


5. Create a new layer by clicking on Layer -> New -> Layer.

This is how the new layer appears in the Layers Panel

6. Click on your Brush and choose White for your brush color and set the brush size to about 30 px.

The brush tool on the Tools Panel


7. Paint one dot at the circle of the image and then merge the two layers.

I painted only one dot at the center of the image 
8. Now, it's time to define your pattern! Click on Edit -> Define Patterns.

This is where you'll get the command.


9. Name your pattern.

In my case I named it 'Blue Polka'.


10. This is it! Remember to save your image so that you don't lose the pattern you created. To test it, I created a '700px x 700px' file, chose my paint bucket tool, set it to 'Pattern', and painted the new file. Here is how to it looks:


Will be back soon with more tutorials!
Stay tuned.

0 comments:

1:21 PM Unknown 0 Comments

DIY: Cupcake / Muffin Paper Wrapper


As promised, I finally got the chance to post a step by step tutorial on how to create your own handmade cupcake or muffin wrapper. It's easy and simple and I'll explain to you how to do it.

For this simply tutorial you will need:

A scissor, glue stick, and decorative scissors (optional)

You don't have to use the decorative scissors but it gives you amazing result.

1. Choose a pattern that appeals to you or you can use any pattern for demonstration until you find a suitable one. You can either create it yourself using Photoshop or you can buy them. There are plenty of online resources for these digital patterns. As for me, I choose one of the following patterns:

Those patterns are created by me, so for this tutorial
I only changed the colors.
2. After deciding on your pattern, use a cupcake wrapper template and print it.


3. When your paper is ready, start cutting the paper. Be careful when cutting and try not to cut the pattern itself. 


4. Once you finish cutting the wrapper, fold the two ends together. Then glue one of the ends and stick it with the other. 


5. Hold the glued part for a short while to make sure it sticks well then release your hand pressure on it.


There you have a beautiful handmade created cupcake/muffin paper wrapper!

0 comments:

9:31 AM Unknown 0 Comments


Event: Kuwait Petroleum Company's Exhibition (February 18th, 2013)


Last February I had an important event. I ought to publish this post way earlier but I had a lot going on. The good thing is that I got rid of 90% of the spam comments and will continue to do so until I get them all out of the way. The other thing I am working on right now is the layout. I changed few things here and there but still my blog is incomplete.


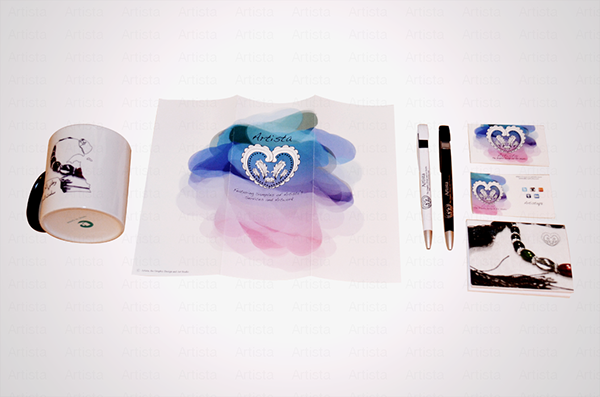
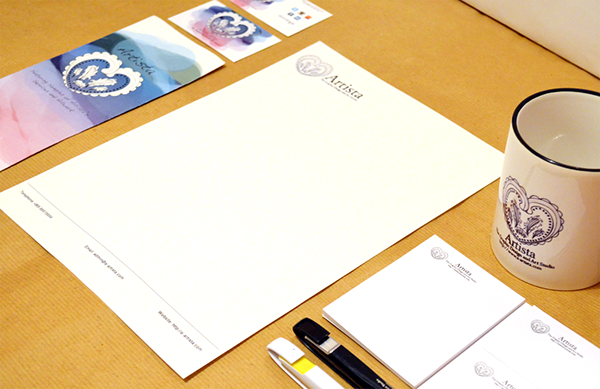
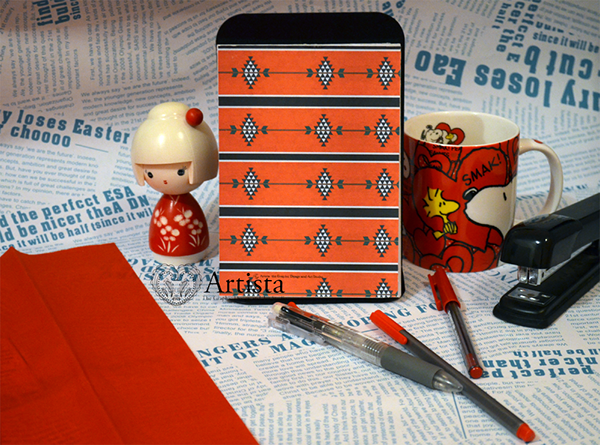
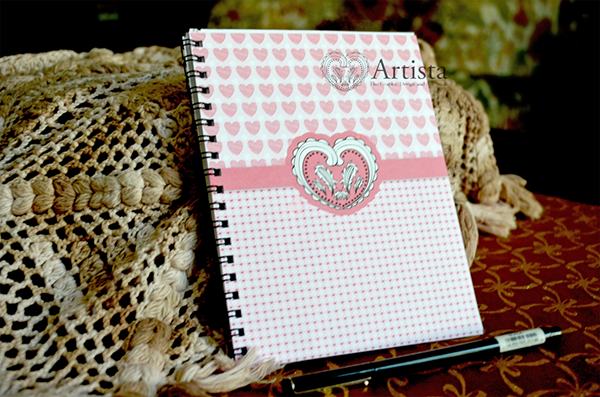
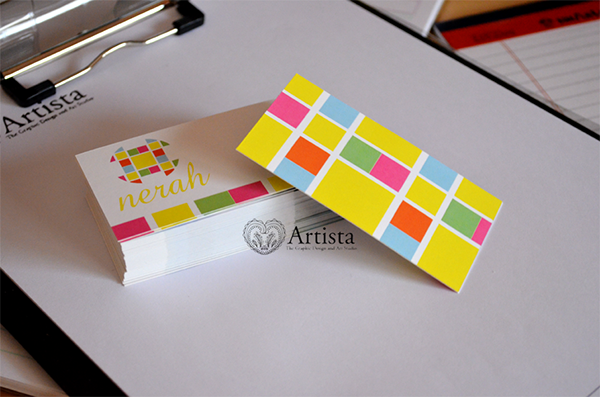
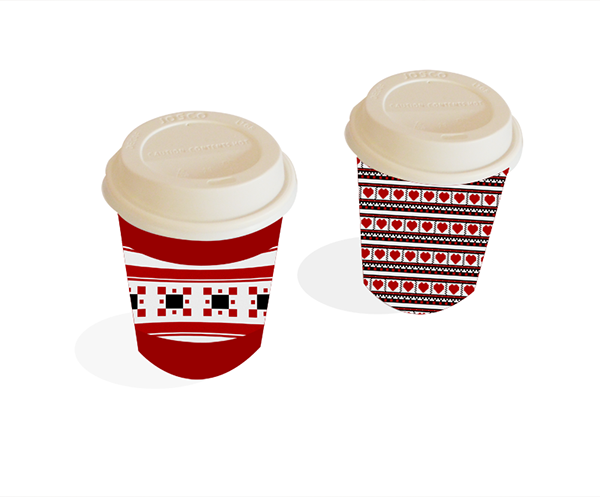
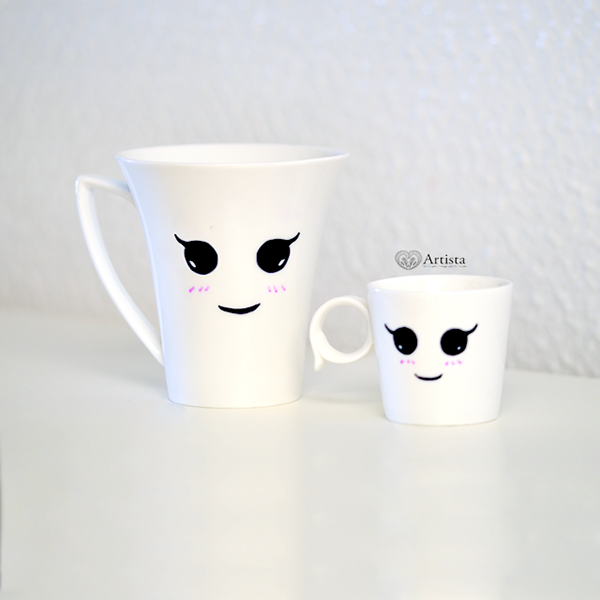
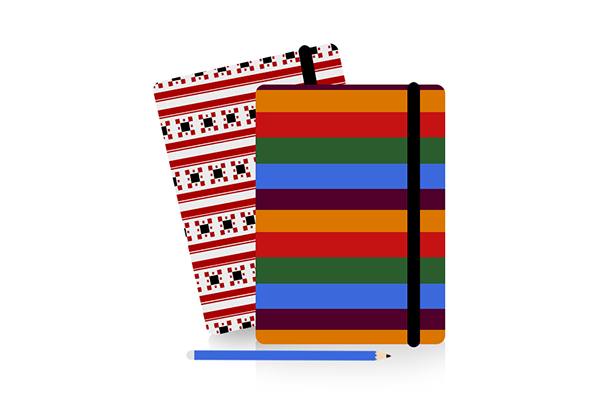
Preparing for Kuwait Petroleum Company's Exhibition took place one month prior to the opening day. I wrote a list of the items I wanted to include at my table which ended up being altered as usual.  At first I had in mind including a keychain, gift bag, pocket-size calendar, mug, pamphlet, and business card. I replaced the keychain with a pen, and the pocket-size calendar with a pocket-size small notebook and calendar.


Even though it was only two days but I had to wake up really early, arrive before time, and set up my table. It was exciting and fun experience that I hope to repeat it again. It taught me a lot about how the exhibitions are prepared, what items should be included in one's table, and how to organize the table. More importantly, it lets you meet different people with different background about any project. They like to see something new to their eyes. Therefore, they seek anyone being driven by curiosity to know more about what others are presenting to them.


In conclusion, I was really glad to be part of this Exhibition and would like to participate in future exhibitions as well. Even if it's tiring to have everything set up and make sure to organize all the details but it'll be worth it in the end.

0 comments: