Create Your Own Digital Pattern


I brought to you another article but this time I'll show you an example of how to create your own pattern. For this tutorial, I'm using a very simply and easy pattern for demonstration but it's applicable on other shapes and patterns as well. The only program you'll need is Photoshop CS3+.


1. Create a new project by clicking on File -> New.
Set the size of your file to 100px x 100x
(You can use any size but for this tutorial I'm using the above dimensions)

2. Zoom in your file to about 400%. Enough for you to work on the small area.

The more you zoom the better.


3. Choose a good color for your background.

I chose the color #9be8fe.


4. Click on the Paint Bucket Tool to paint the image.

You can see the tool at the left side.


The tool is highlighted with gray.

After painting the image.


5. Create a new layer by clicking on Layer -> New -> Layer.

This is how the new layer appears in the Layers Panel

6. Click on your Brush and choose White for your brush color and set the brush size to about 30 px.

The brush tool on the Tools Panel


7. Paint one dot at the circle of the image and then merge the two layers.

I painted only one dot at the center of the image 
8. Now, it's time to define your pattern! Click on Edit -> Define Patterns.

This is where you'll get the command.


9. Name your pattern.

In my case I named it 'Blue Polka'.


10. This is it! Remember to save your image so that you don't lose the pattern you created. To test it, I created a '700px x 700px' file, chose my paint bucket tool, set it to 'Pattern', and painted the new file. Here is how to it looks:


Will be back soon with more tutorials!
Stay tuned.
DIY: Cupcake / Muffin Paper Wrapper


As promised, I finally got the chance to post a step by step tutorial on how to create your own handmade cupcake or muffin wrapper. It's easy and simple and I'll explain to you how to do it.

For this simply tutorial you will need:

A scissor, glue stick, and decorative scissors (optional)

You don't have to use the decorative scissors but it gives you amazing result.

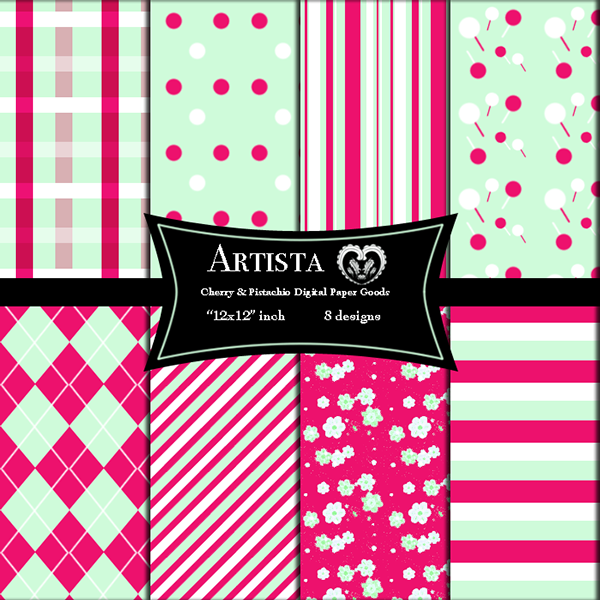
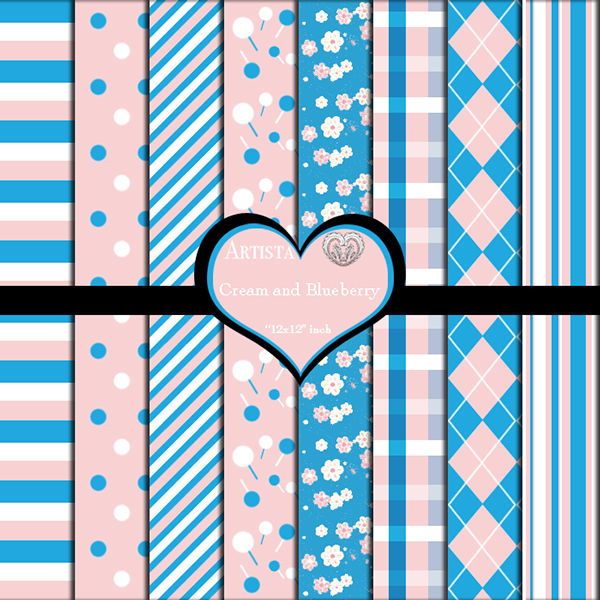
1. Choose a pattern that appeals to you or you can use any pattern for demonstration until you find a suitable one. You can either create it yourself using Photoshop or you can buy them. There are plenty of online resources for these digital patterns. As for me, I choose one of the following patterns:

Those patterns are created by me, so for this tutorial
I only changed the colors.
2. After deciding on your pattern, use a cupcake wrapper template and print it.


3. When your paper is ready, start cutting the paper. Be careful when cutting and try not to cut the pattern itself. 


4. Once you finish cutting the wrapper, fold the two ends together. Then glue one of the ends and stick it with the other. 


5. Hold the glued part for a short while to make sure it sticks well then release your hand pressure on it.


There you have a beautiful handmade created cupcake/muffin paper wrapper!


Event: Kuwait Petroleum Company's Exhibition (February 18th, 2013)


Last February I had an important event. I ought to publish this post way earlier but I had a lot going on. The good thing is that I got rid of 90% of the spam comments and will continue to do so until I get them all out of the way. The other thing I am working on right now is the layout. I changed few things here and there but still my blog is incomplete.


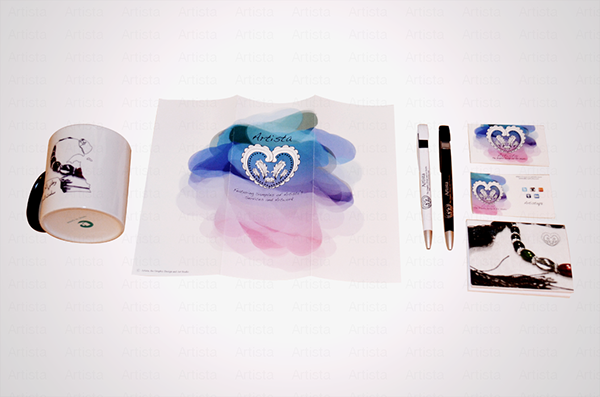
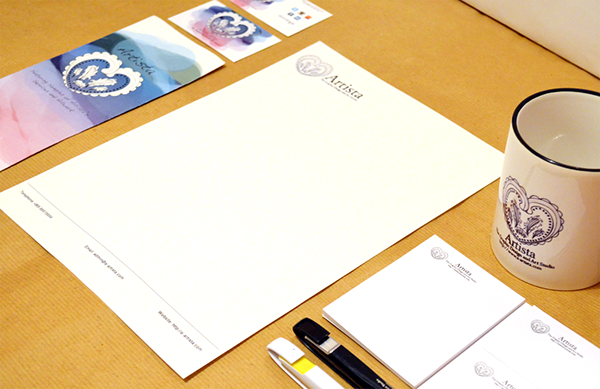
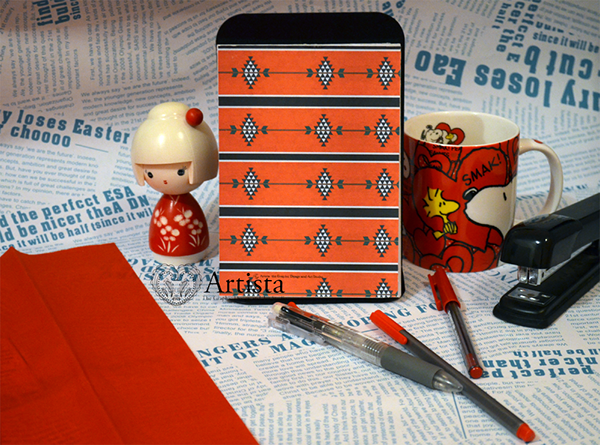
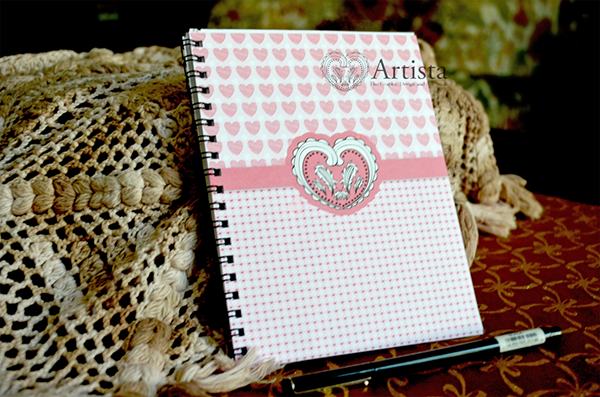
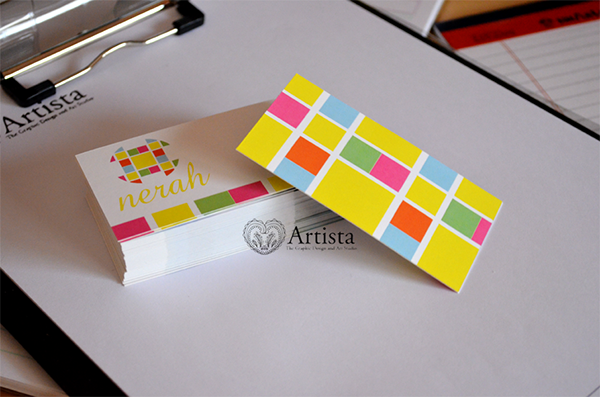
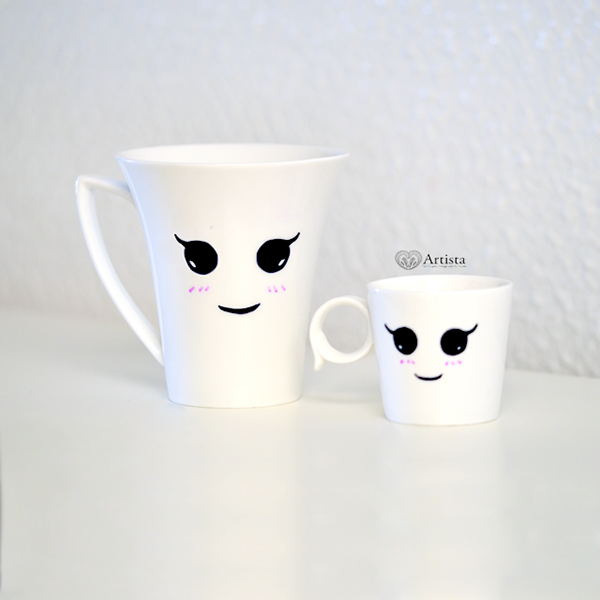
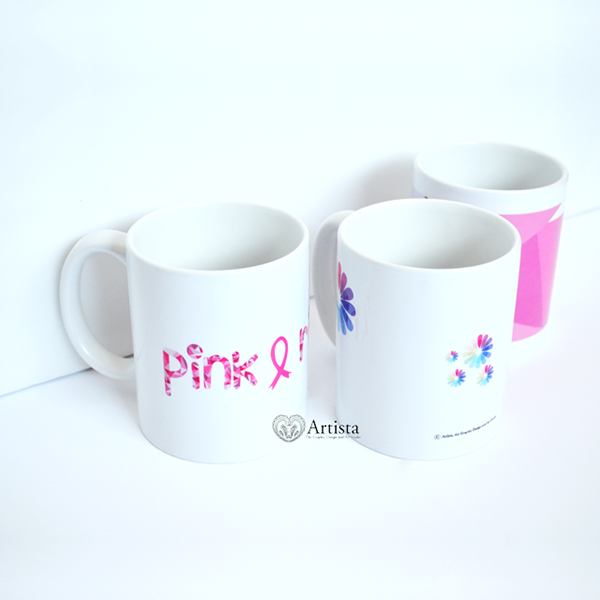
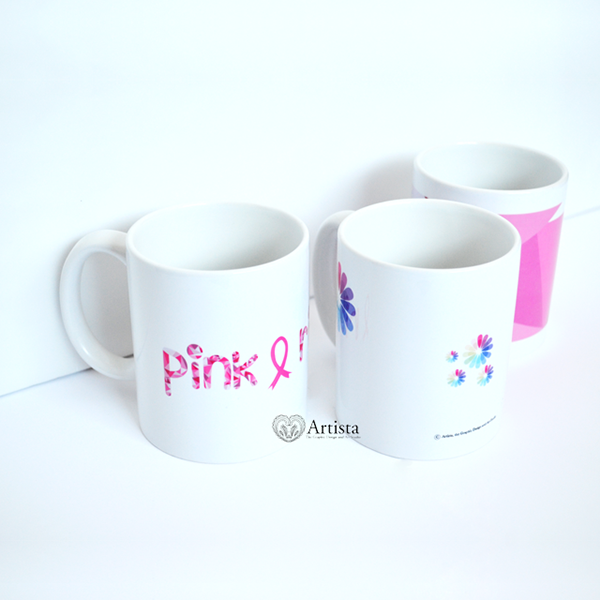
Preparing for Kuwait Petroleum Company's Exhibition took place one month prior to the opening day. I wrote a list of the items I wanted to include at my table which ended up being altered as usual.  At first I had in mind including a keychain, gift bag, pocket-size calendar, mug, pamphlet, and business card. I replaced the keychain with a pen, and the pocket-size calendar with a pocket-size small notebook and calendar.


Even though it was only two days but I had to wake up really early, arrive before time, and set up my table. It was exciting and fun experience that I hope to repeat it again. It taught me a lot about how the exhibitions are prepared, what items should be included in one's table, and how to organize the table. More importantly, it lets you meet different people with different background about any project. They like to see something new to their eyes. Therefore, they seek anyone being driven by curiosity to know more about what others are presenting to them.


In conclusion, I was really glad to be part of this Exhibition and would like to participate in future exhibitions as well. Even if it's tiring to have everything set up and make sure to organize all the details but it'll be worth it in the end.

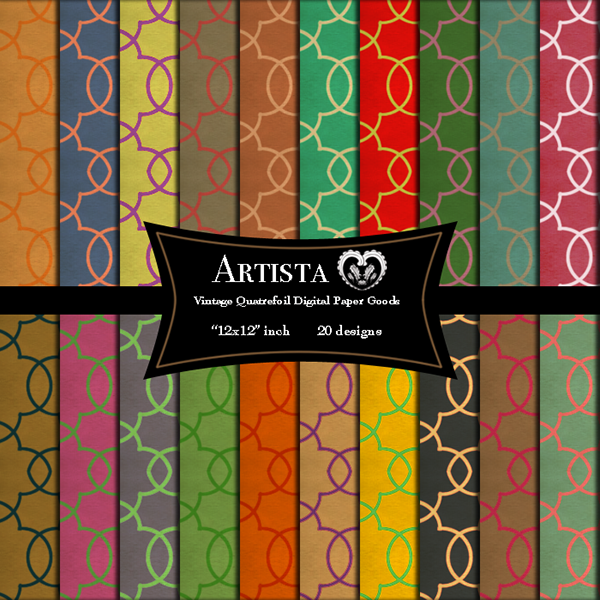
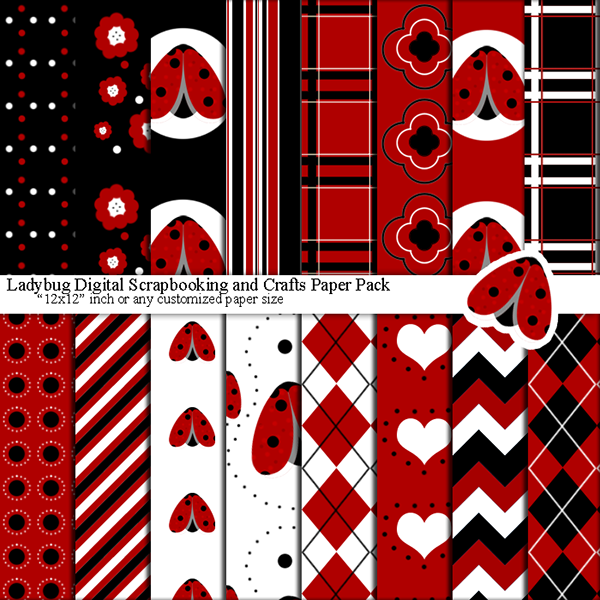
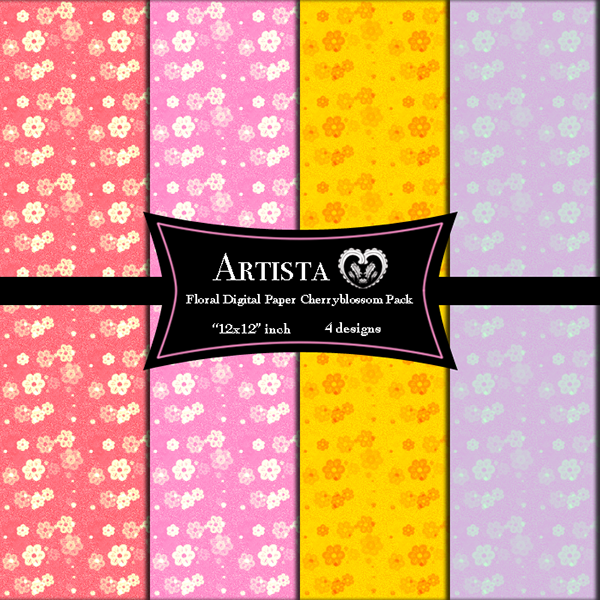
When I first started selling my digital patterns online, I used to create just one scrapbook paper good. It was a bit difficult to come up with an idea for a pattern and then practically start creating it. Whenever I was done with a design I felt that it was a great accomplishment and I felt so proud of myself. But at a point, I felt that I can do more than just create a pattern and list it in my shop. That's when I moved to creating a whole paper pack set from 8 different patterns to 20 paper goods.


Creating those patterns helped me practice a lot. Now I have no problem at all creating any digital background within 10 minutes! And that's really great. Moreover, I get to use these patterns in many of my paintings like add them to my characters' clothes or background. I don't have to leave my background white or use a solid color. Also, I used them in my blog, website, and my other social media websites.


I've been listing new paper goods since 1st January until today. There were times when I didn't create any and there were times when I couldn't stop creating some.


As for my new listed item, I used one of my patterns to create cupcake wrapping paper. You can all use them for decorating your party cupcakes! You can buy them at my store for only $7. You'll be emailed with the download link that includes an A4 image with two different designed wrapping papers.